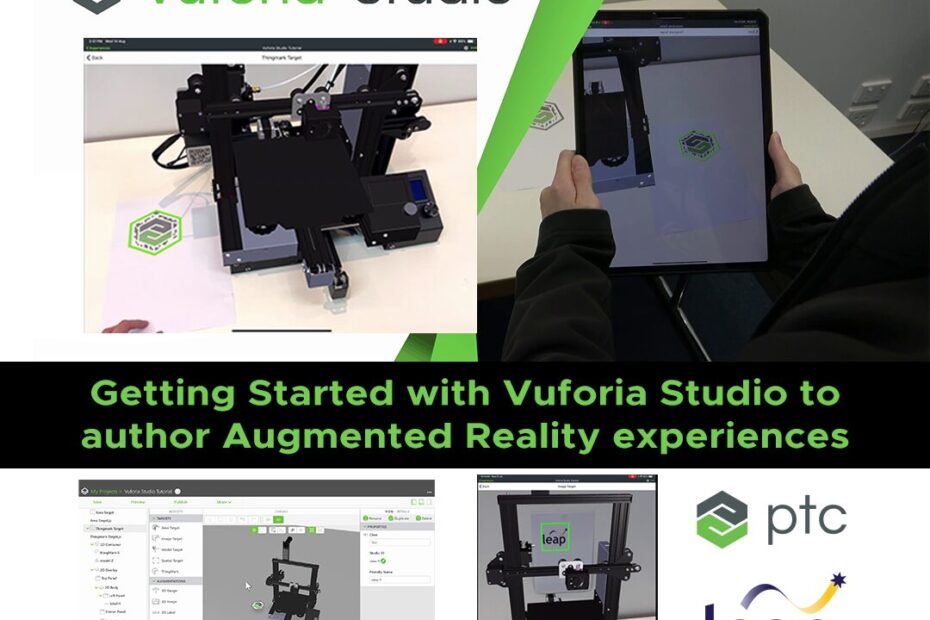
Today’s blog is the first in a series dedicated to LEAP’s newly-created tutorials which help you to learn the ropes of using Vuforia Studio, the powerful and easy-to-use augmented reality (AR) authoring tool developed by PTC and supported by LEAP Australia. With the rapidly changing demands of today’s manufacturing and business environment, there’s never been a better time to dive into making your own AR experiences, whether to showcase new products, improve employee training & efficiency, or to impress potential customers with amazing, interactive AR content.
In this first video, we show you the basics of using Vuforia Studio. This includes how to set up new projects and how to navigate the UI. Then importantly, you will learn how to import and work with 3D CAD models, as well as how to export and share your AR experience. Start with this video to learn your way around the program:
The following videos go into detail about using different types of target types, which are used to link your AR experience to the real world. Each target type has features which suit it to certain use cases, so you can cater your target to fit the needs of your AR experience.
Thingmarks are a great way to have roaming demonstrations anchored to a movable marker. They are the best way to align your AR experience when you don’t have accurate CAD available. You can also use Thingmarks as a way to load AR experiences from your library:
Spatial targets are perhaps the easiest target to use and configure, only requiring a flat surface for your device to locate the AR experience on, such as the ground or a tabletop. They are often used for table top displays, and have the flexibility to be easily scaled and moved around by the user:
Model targets allow you to align your AR experience one-to-one with your physical model, if you have one. Model targets provide a very accurate and robust tracking method and are best used when you have 3D CAD of your models that very accurately matches the physical object. You can then superimpose AR elements over the top of your real life model, to make engaging user experiences that combine the physical and digital worlds:
Image targets are similar to Thingmarks, however you can use any image or graphic as the anchor for your AR experience. These are perfect for use with custom marketing materials such as printed brochures:
An Area target allows you to locate your AR experience within a larger space, and lets you interact as you walk through the environment. It first requires you to scan your environment, which can be done with an iOS device equipped with Lidar. You can then import your scan and author your AR experience as if you were located in the space:
This wraps up our introduction to the basics in Vuforia Studio. Stay tuned for more videos in our series, as we dive deeper into Vuforia Studio and learn advanced techniques that aim to help elevate your AR experiences further. You can also find all of LEAP’s Vuforia Studio videos in the playlist below:

